What is the correct order for applying makeup step by step?
The professional sequence for putting on makeup without the base cracking, the eyes smudging onto your cheeks, or the blush eating into your contour. A clear, step-by-step guide with the mistakes that turn a good makeup look into a mediocre one.
There is an uncomfortable truth in the world of makeup: most face “failures” are not the fault of the product, they are the fault of the order. Applying concealer before foundation, putting powder on dehydrated skin, or finishing without a setting spray can ruin a routine worth 60 euros in products. So let’s get to what matters: the professional order, with the logic behind each step and the mistakes worth avoiding.
The makeup order at a glance
Before going into detail, here is the sequence most professional makeup artists follow. Learn it, and the rest is a matter of steady hands and the right product.
| Step | What you apply | Why it goes here |
|---|---|---|
| 1 | Cleanser + moisturizer + SPF | Prepares and protects the skin |
| 2 | Primer | Smooths texture and sets the base |
| 3 | Foundation | Evens out the overall tone |
| 4 | Concealer | Covers what the foundation doesn’t |
| 5 | Loose powder | Sets areas prone to shine |
| 6 | Brows | Frame the face |
| 7 | Eyes (shadows, eyeliner, mascara) | Precision work without smudging the base |
| 8 | Contour, blush and highlighter | Restore dimension to the face |
| 9 | Lips | Last so they don’t compromise the rest |
| 10 | Setting spray | Melds all the layers |
Step 1: the skin is in charge
A beautiful makeup look starts with well-treated skin. Gentle cleansing, a moisturizer suited to your skin type, and at least SPF 30 during the day, even in winter. Let everything absorb for at least two or three minutes before moving to the next step: if you rush, the foundation will ball up.
Step 2: primer, the invisible insurance
Primer isn’t essential, but it’s very useful if you want makeup to last more than eight hours. Matte formulas control shine in the T-zone; luminous ones lift dull skin; silicone-based ones fill pores and fine lines. Apply a pea-sized amount and spread it with your fingers.
Step 3: foundation, always before concealer
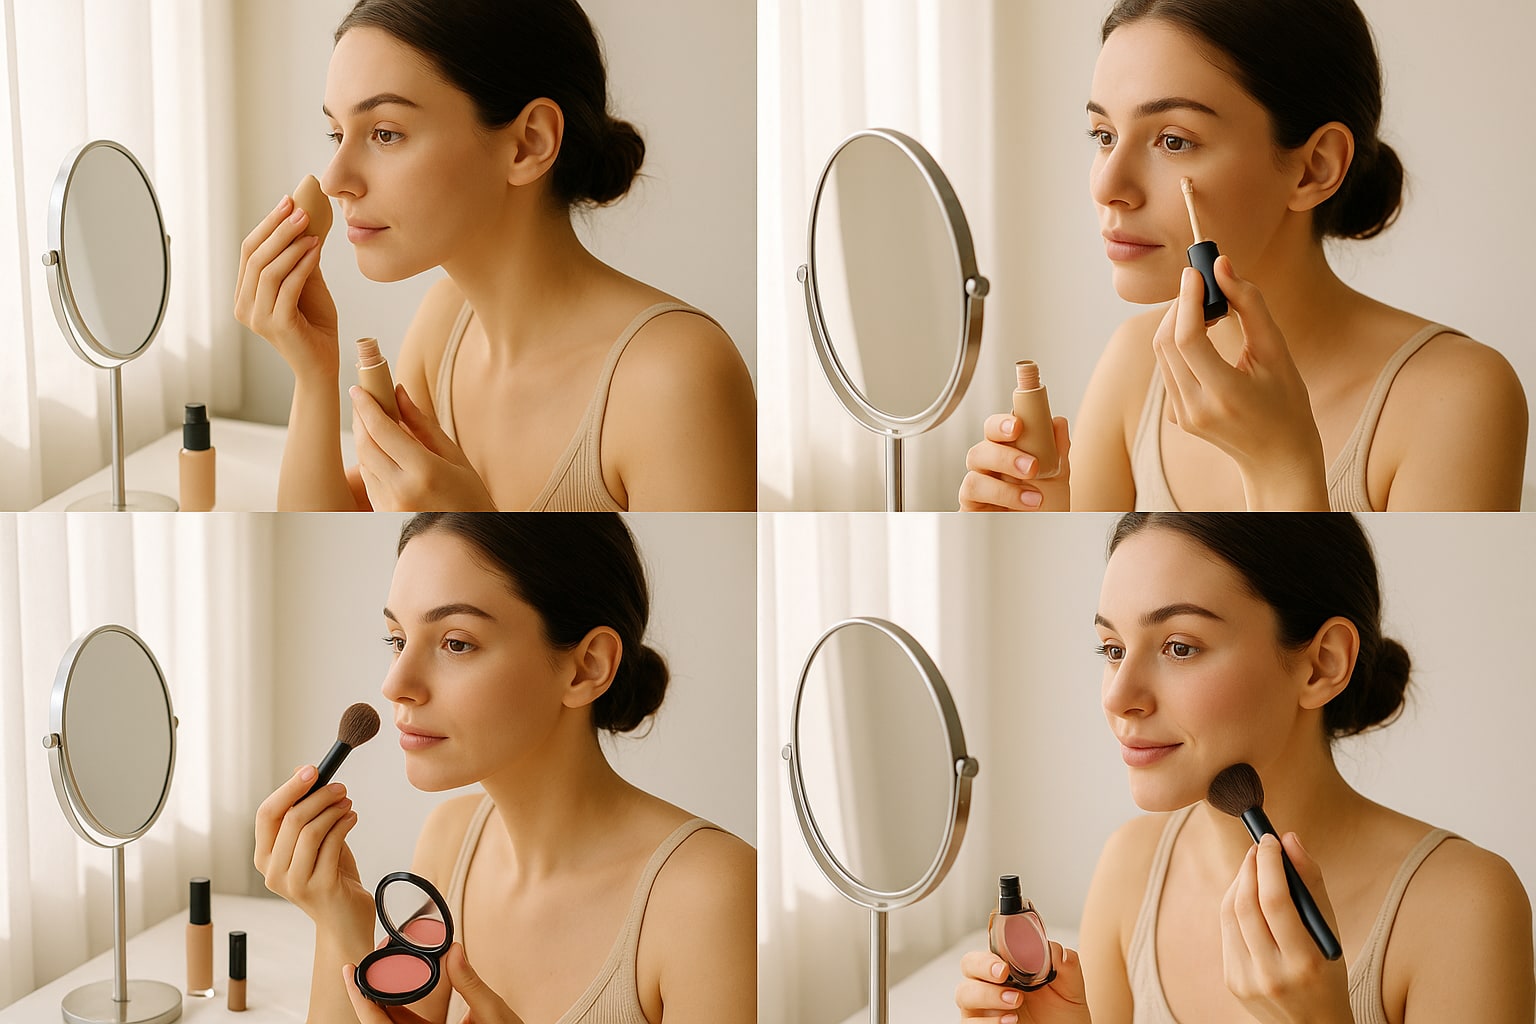
This is the most common mistake. If you put concealer on first, you’ll drag it along when you spread the foundation. Foundation goes first and, more often than not, you’ll find you need less concealer than you thought. Apply it with a damp sponge for a skin-like finish or with a dense brush for more coverage. If you want long wear, take a look at foundations that last more than 12 hours without oxidizing.
Step 4: concealer, only where it’s needed
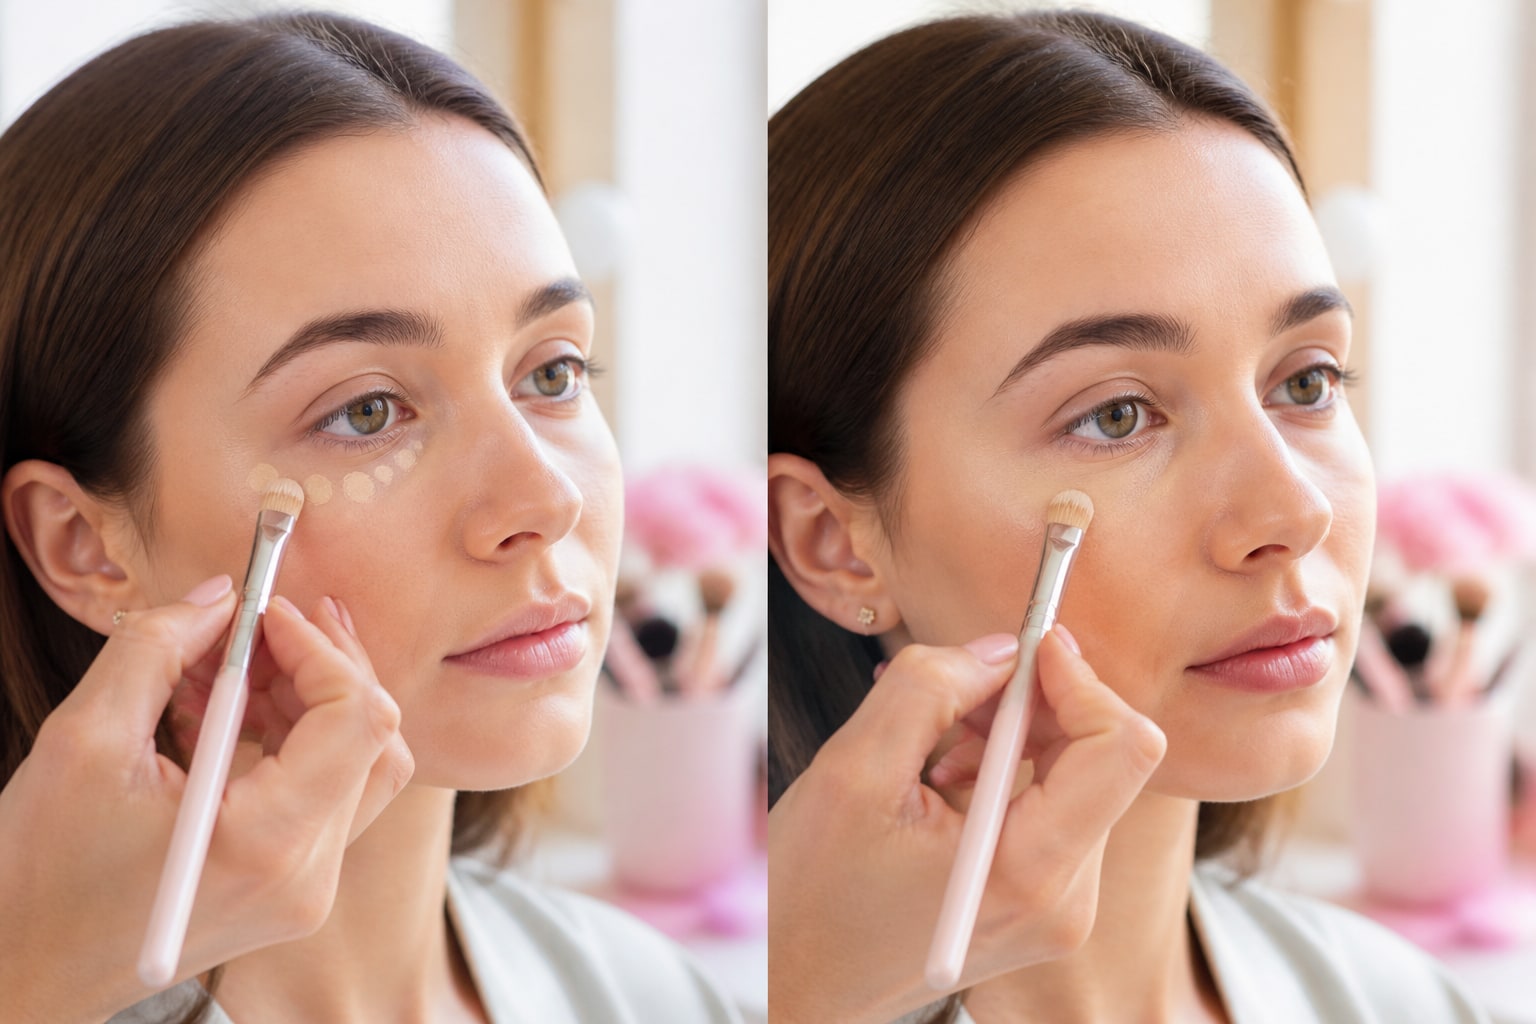
Dark circles, spot redness, the odd blemish. For dark circles, a shade half a tone lighter than your foundation and a fluid texture. For imperfections, a high-coverage concealer in your exact skin tone (not lighter; it’s a myth that it whitens). Blend with the warmth of your finger or a small sponge.
Step 5: powder, with a light hand
Loose powder sets the foundation and keeps makeup from moving. Apply it only to the T-zone, under the eyes (baking technique if you want to set the concealer) and on the sides of the nose. On the rest of the face, it’s better to let the skin breathe: excess powder ages and emphasizes texture.
Step 6: brows before eyes
Brows structure the face, so define them before starting on the shadows. A fiber gel, a fine pencil or a pomade: whichever you handle best. Always brush them up and outward at the end.
Step 7: eyes, the delicate work
They go after the foundation but before the cheeks for a practical reason: shadows shed fallout. If you work on the eyes last, that fallout will stain the blush. The internal order is transition shadow, dark shadow, eyeliner and mascara. For an intense red-carpet finish, take inspiration from the blood-red smokey eye that doesn’t look like a costume.
Step 8: contour, blush and highlighter
Now it’s time to bring volume back to the face. Contour below the cheekbone, at the hairline and under the jaw. Blush on the apple of the cheek, sweeping up toward the temple. Highlighter on the cupid’s bow, the bridge of the nose and the upper cheekbone. If you use a cream product, apply it before powder; if it’s powder, apply it after.
Step 9: lips last
Liner, lipstick or gloss. Leaving the lips for last prevents them from smudging when you put on masks, drink water during the process or blend shadows. This season, burgundy continues to dominate over classic red.
Step 10: setting spray, the step almost nobody takes
Two sprays from 20 centimeters, in a cross pattern. Setting spray melds the layers (foundation, powder, blush) and makes the finish look like skin, not makeup. The difference between a freshly done face and one that’s been on for eight hours often lies here.
The most frequent mistakes
- Applying concealer before foundation.
- Skipping moisturizer to “save time”.
- Overusing powder on the cheeks (it ages).
- Doing the eyes before the foundation and ending up with double work.
- Forgetting the setting spray at long events.
- Choosing a concealer two shades too light: it looks like a mask the next day in photos.
The order matters as much as the product. Master the sequence and suddenly even a low-cost routine will look like a makeup artist’s work.